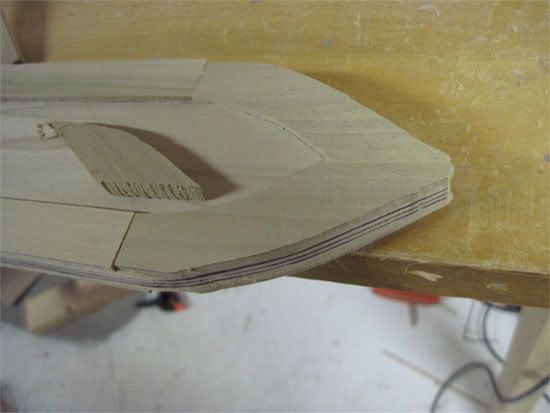
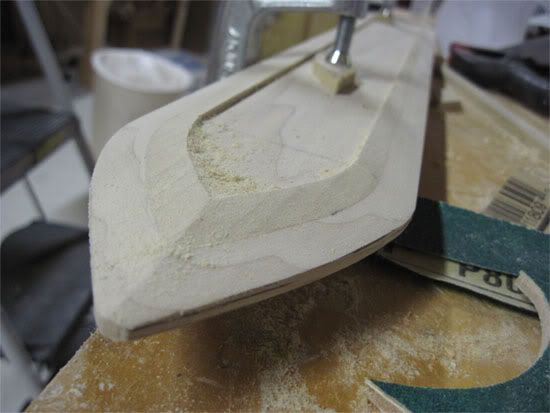
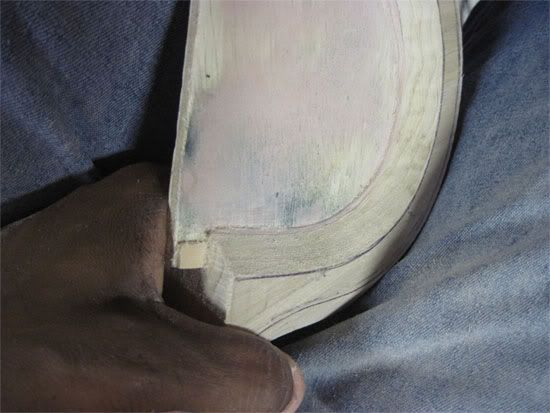
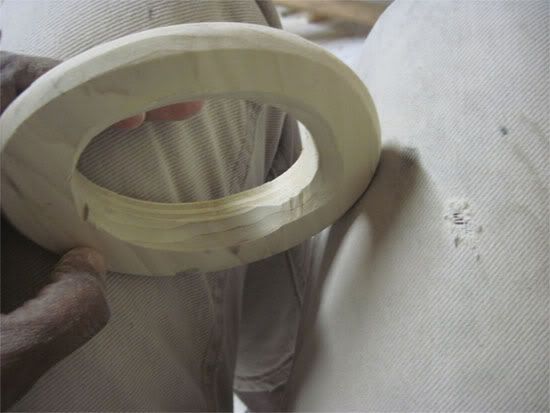
To get the recessed area of the blade, I glued thin panels to the sides...
...then tapered the sides of the blade as normal. That left a nice clean inner bevel :)
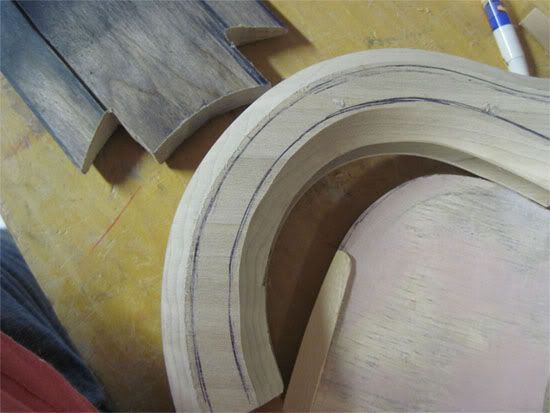
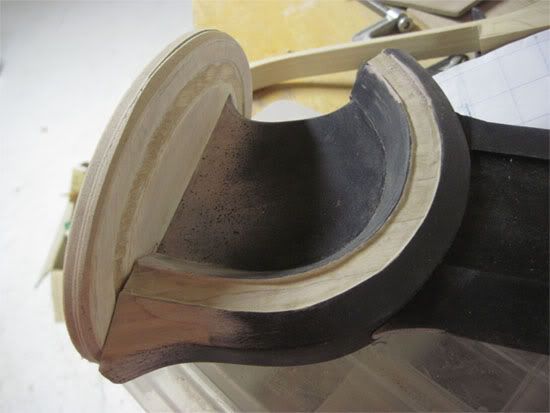
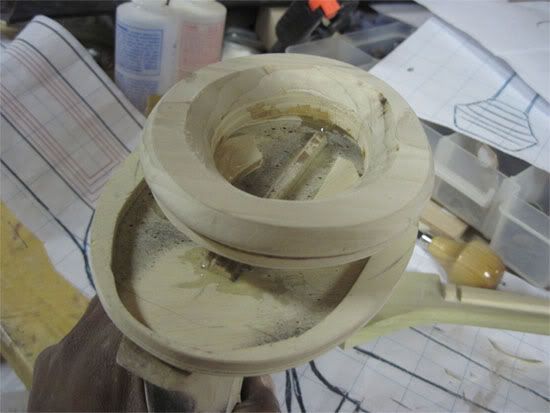
The "arch" was made from 3 sandwiched segments of wood, with a space to insert the blade.
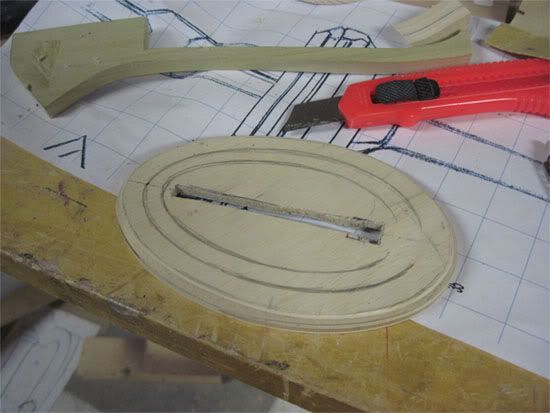
I added the center section of plywood, using craft sticks to center the plate. Bondo was added to fill in the gap, and the inner arch was carved in.
I cut out a slot to accomodate the plywood plate.
the arch was fitted,and glued to the plate
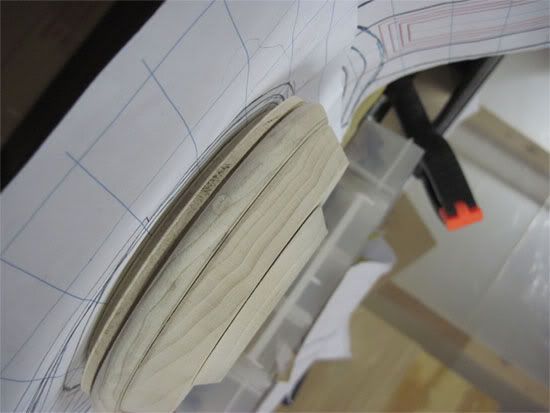
The unserside of the hilt was made from 3 layers of wood
I glued two of the sections together and bored out the center to help keep the sword as light as possible.
They got connected to the base
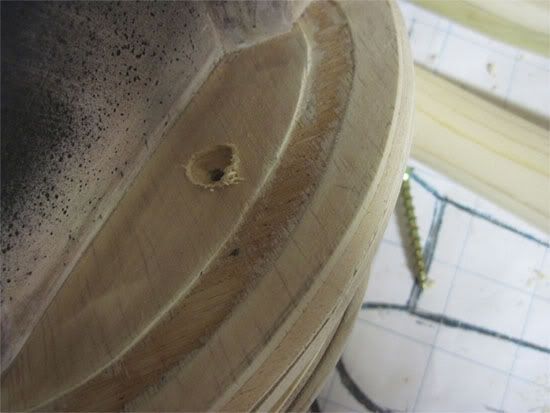
After gluing the bottom piece (which didn't get bored) I added a pair of screws to add additional strength.
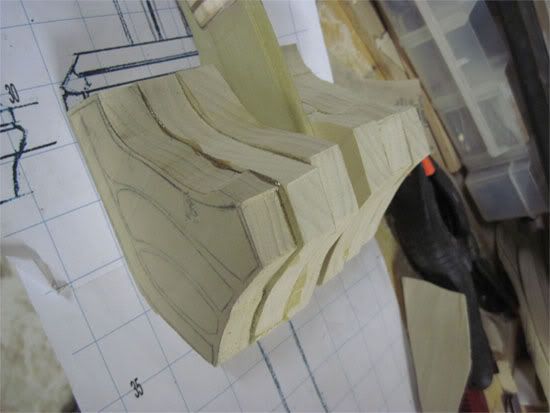
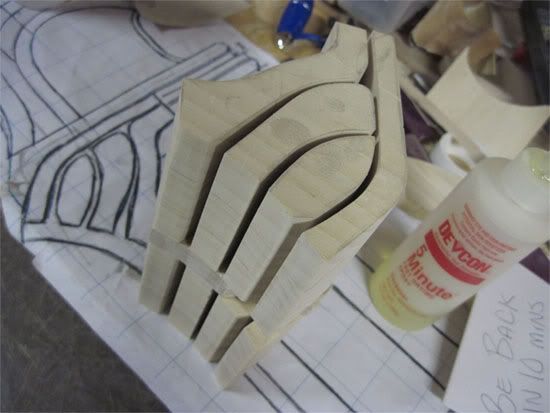
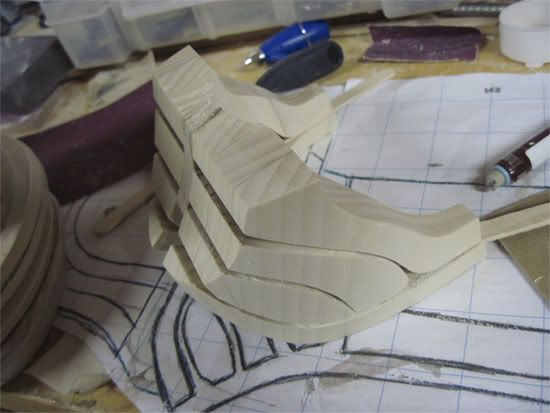
Three sections of wood were glued together to compose the "basket"
I cut the groves and sended the parts smooth
.. then glued them onto a scrap piece of wood to shape
Rough cut them using my bandsaw
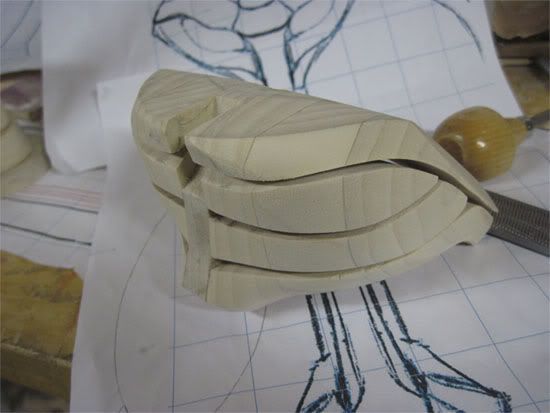
and shaped them into the shape I wanted using files and sanding blocks
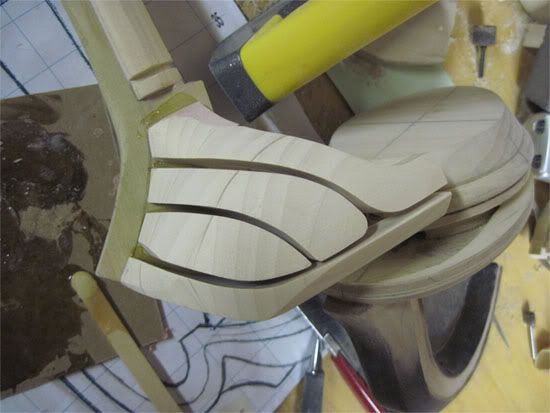
The segments were cut off the scrap block. Here's the segments!
They got glued onto the actual sword :)
And here's where I went into a building frenzy and forgot to take photos..
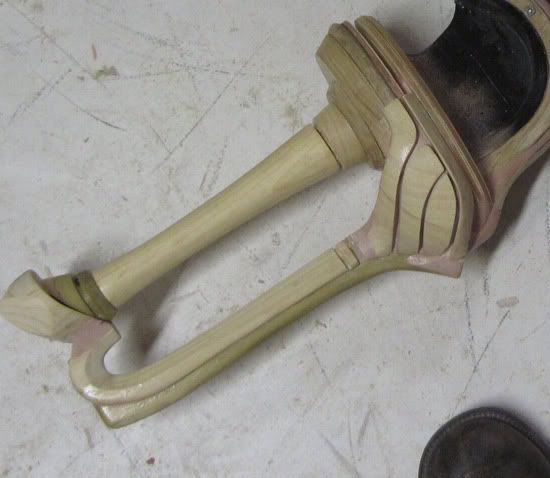
After squishing bondo between the cracks I scraped at it while it set, and before it cured (its easier to do than carving it when its hard!) to acheive the depth I wanted. The curve in the back was built up using wood and bondo. The grip was also made and connected. Here's the end result after I sanded it and applied wood hardener.
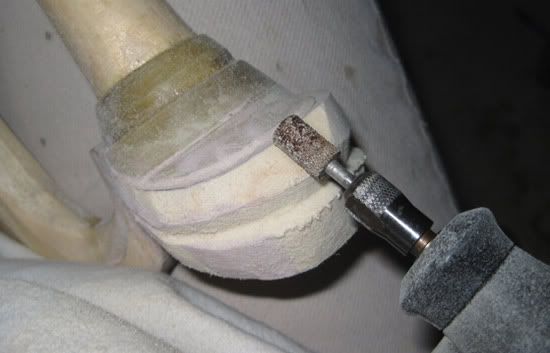
The pommel was carved using a Dremel, files and sandpaper :)
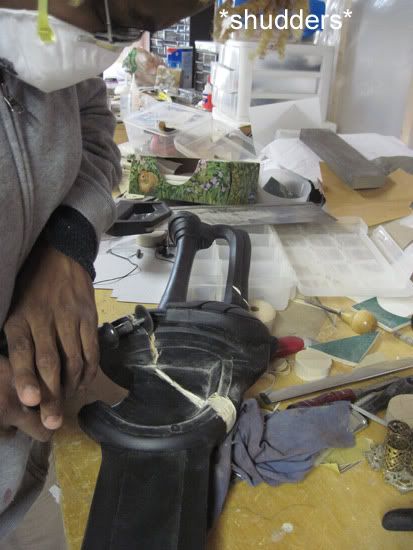
After finishing sanding, and a coat of primer, I used a dremel and a hacksaw to add major battledamage!
sand, detail, and yay!


